Embedding Web Fonts
Including licensed font files in your theme.
You may have a set of font files licensed for your organization for web use. In order to add them to your theme's font families, you must first add them to your theme.
Add the font files to your Confluence home directory.
To complete this step, you must have access to the server/computer on which Confluence was installed. You should have your set of purchased font files accessible.
From your Confluence
homedirectory navigate tobrikit/themes.- Select the folder that matches the appropriate theme.
- If not already there, add a
fontsfolder. - Within the
fontsfolder, add your font files:.eot.svg.ttf.woff.woff2
Add custom supporting CSS to your Theme.
Your packaged web-font files will contain key information needed to create a CSS file, including:
- font-family name
- font key
- The name of your font file (minus the extension) is the font's key.
- font style
- font weight
- font ID
- You can find the font ID in the .svg file.
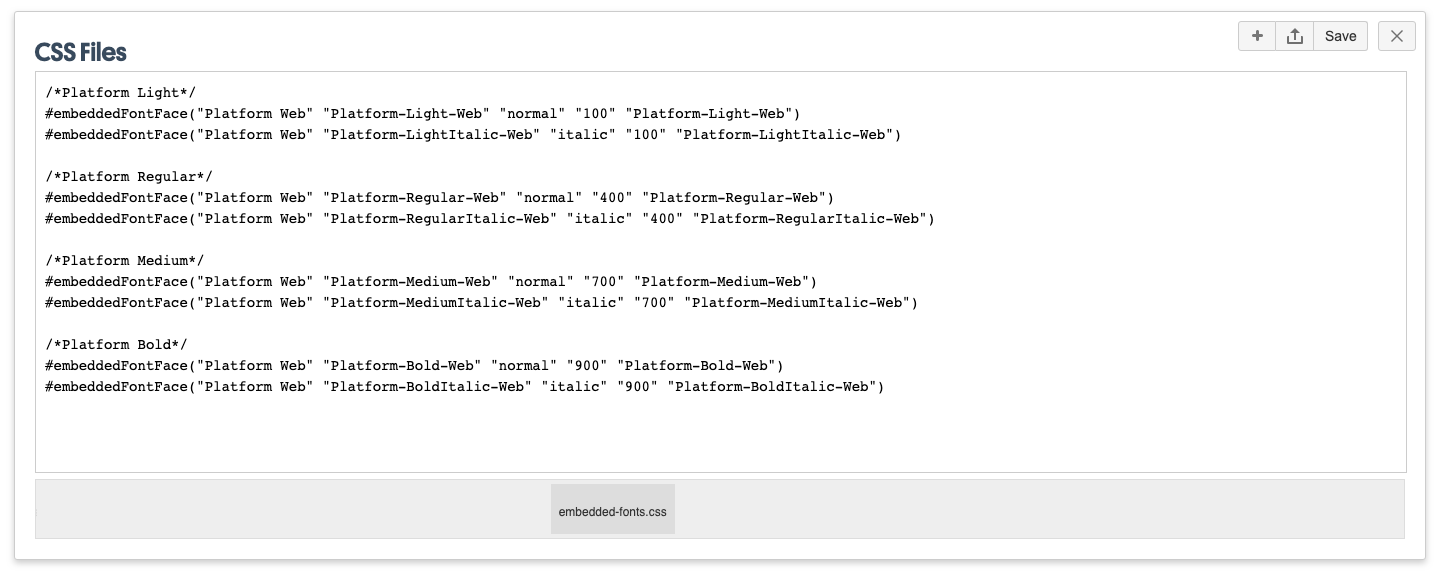
Once you have located the key information, add a CSS file named embedded-fonts.css with the following format for each font:
#embeddedFontFace("<font-family name>" "<font key>" "<font style>" "<font weight>" "<font id>")
Example
#embeddedFontFace("Graphik Bold Web" "Graphik-Bold-Web" "normal" "bold" "Graphik-Bold-Web")
Theme Press does not accept OpenType Font (.otf) files, so we recommend converting these to one of the above-mentioned font formats, specifically .ttf, .woff or .woff2.


