Add the font files to your Confluence home directory.To complete this step, you must have access to the server/computer on which Confluence was installed. You should have a your set of purchased font files accessible. Add custom supporting CSS to your Theme.Your packaged web-font files will contain key information needed to create this file, written in the following formata CSS file, including: - font-family name
- font key
- The name of your font file (minus the extension) is the font's key.
- font style
- font weight
- font ID
- You can find the font ID in the .svg file.
Once you have located the key information, add a CSS file named embedded-fonts.css with the following format for each font: | Code Block |
|---|
| language | css |
|---|
| theme | Confluence |
|---|
| title | Format |
|---|
| #embeddedFontFace("<font-family name>" "<font key>" "<font style>" "<font weight>" "<font id>") |
font-family namefont keyThe name of your font file (minus the extension) is the font's key. Once you have this information, add the following CSS to your theme.font stylefont weightfont ID- You can find the font ID in the .svg file.
Example
#embeddedFontFace("Graphik Bold Web" "Graphik-Bold-Web" "normal" "bold" "Graphik-Bold-Web")[[screenshot needed of actual CSS file. I think.]]
| HTML Wrap |
|---|
| 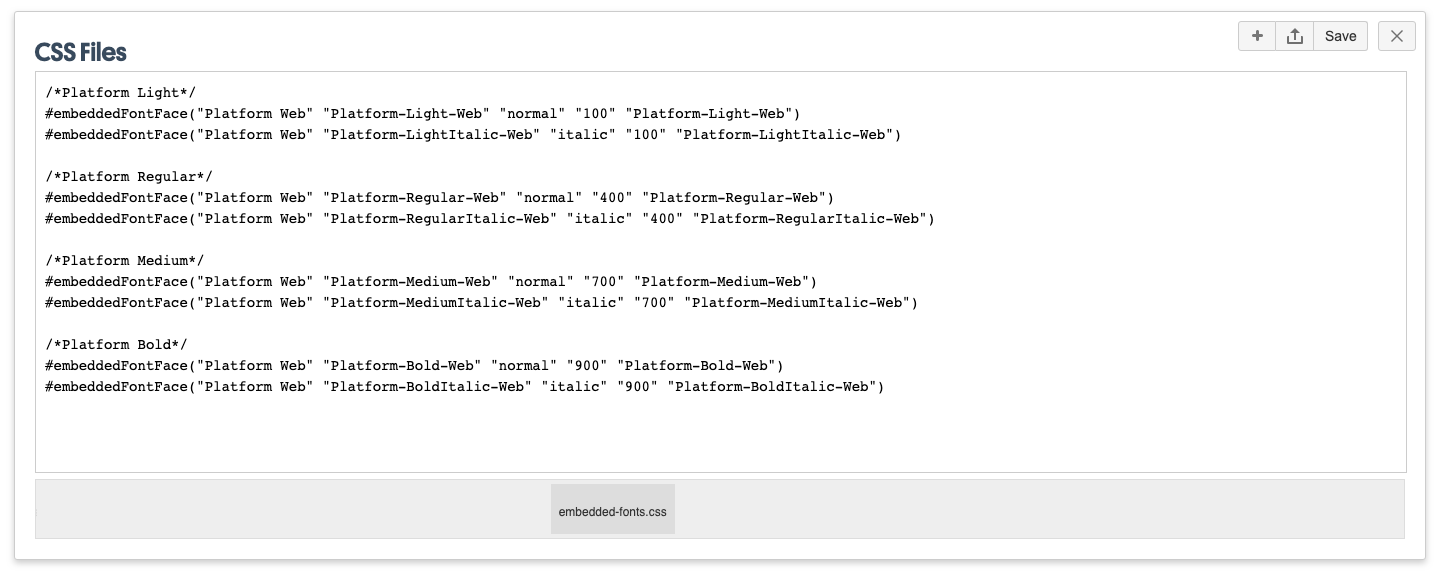 Image Added Image Added
|
| 


