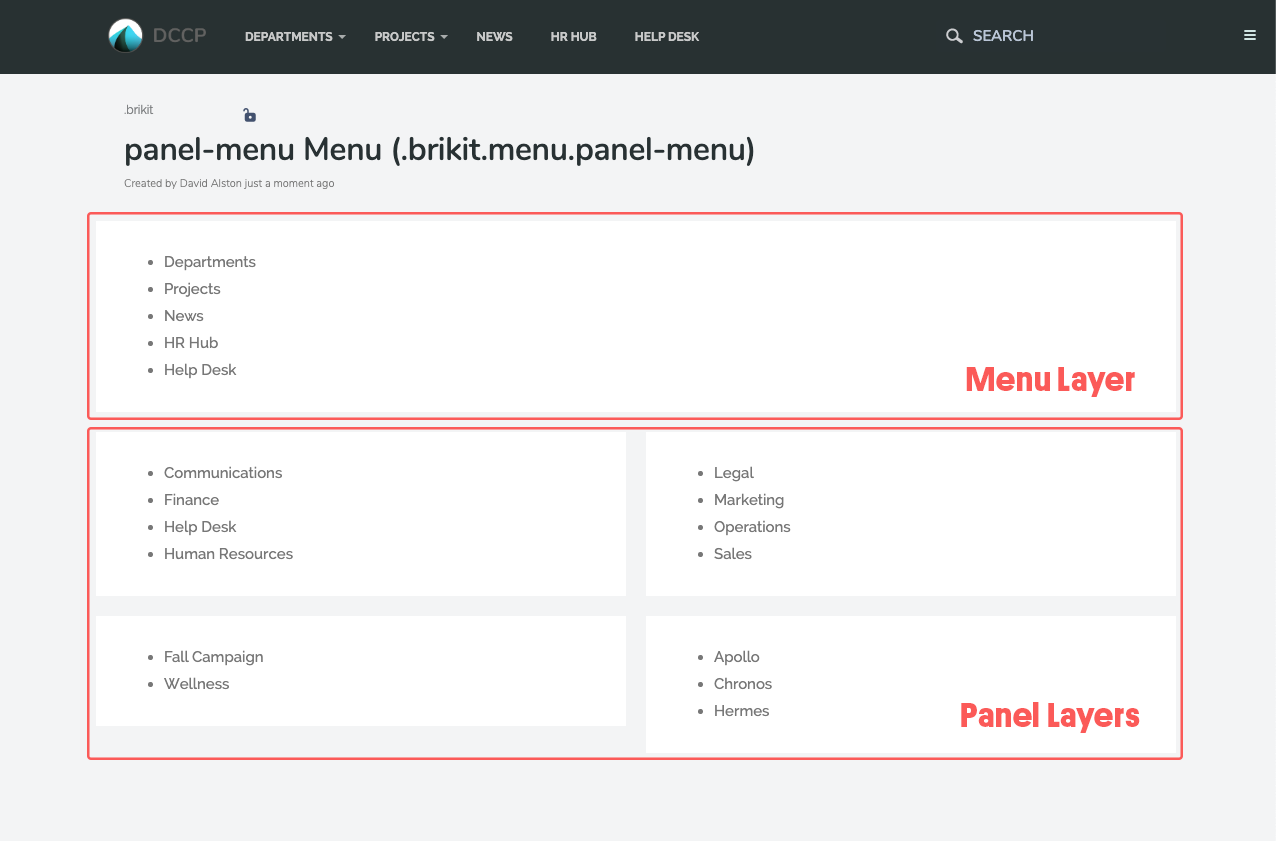
The new panel menu page will be pre-populated with a menu layer and two panel layers. The menu layer defines the top-level menu items, and each panel layer is attached to one top-level menu item. | HTML Wrap |
|---|
| 
|
In the preloaded menu page, the second layer is a two-columned panel that will drop down when you click on Departments. The third layer is a two-columned panel that will drop down when you click on Projects. - To customize the top-level menu items, edit the first block on the page and create a custom bullet list of top-level menu items.
- To customize the panels, edit the blocks in the second layer of the page.
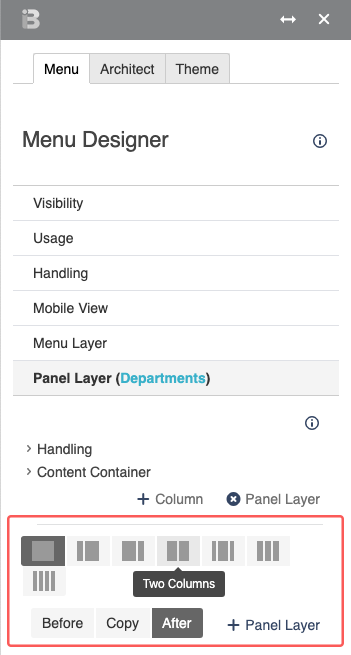
- To create additional panels, select an existing panel layer and the amount of columns needed, and then press the + Panel Layer button
| HTML Wrap |
|---|
| 
|
The menu page now has top-level menu items and panel layers. To connect the two: - In the Menu Tab, expand a Panel Layer and then Handling.
Enter the name of the corresponding top-level menu item in the Name section of the block. - e.g. enter
Departments as the block name for a panel that should drop down from a top-level "Departments" menu item.
| HTML Wrap |
|---|
| 
|
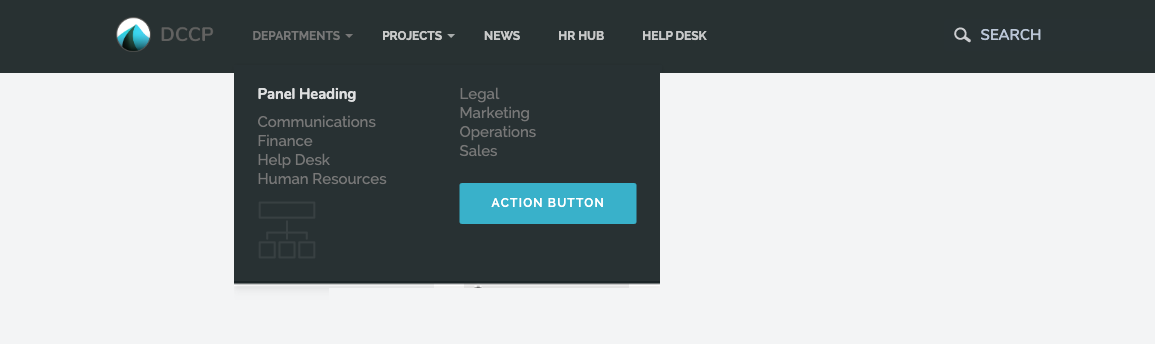
- Add background images, such as icons, to the blocks in the menu panels.
- Add an Action Button macro to draw attention to select links.
- Create structure by using headings.
| HTML Wrap |
|---|
|  |
| 


