View an Existing Page or Create a new pageNew PageNavigate to an existing page. Or, create Create a page using the Confluence "Create" button in the Confluence Menu Header. Note the Page StatusJust under Near the Title and author informationpage Title, either above or below it depending on your page design, note the drop-down selection status indicator button that says "Draft" (or "Published"). This is the Content Flow Workflow Status toolbar, it is currently displaying the . It displays the current status of the page . "Draft" means that it is visible only to admins, and those with Edit restrictions and is where you click in order to view, apply, or reject a workflow, among other tasks. | HTML Wrap |
|---|
| 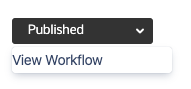 Image Added Image Added
|
| HTML Wrap |
|---|
| 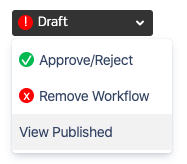 Image Added Image Added
|
If you are using Brikit Theme Press, and you do not see the Workflow Status toolbar, you may need to make visible the page metadata in your page design.
If you prefer not to use the Workflow Status toolbar in the page metadata section, then you can also use the Workflow Status Macro anywhere on the page. Apply a WorkflowThe first step is to Initiate Click the Workflow . To do so, click the Workflow Status toolbar and select Approve/Reject. "Apply Workflow" This opens the Workflow viewer and presents a list of the available workflows in this space. Select the workflow that you want applied and click "Apply" (in the upper right corner of the workflow). The page will refresh and the workflow is applied. If this is a Publishing Workflow, from this point forward any changes to the page will only be visible to workflow participants. Add ContentAdd Edit the page: add page content, such as a paragraph or image or table, and save it. Note that the status indicator now says "Draft". This means that the change made to this page is not yet visible to non-workflow participants. View the WorkflowClick the Workflow Status toolbar and select "Approve/Reject". Inside the Workflow viewer, note the steps of the workflow. Each step corresponds to a User (or member of a Group) and an action (described by the label) reviewer and a label. The first step of every workflow is always assigned to the Editor. The First step is assigned to the Editor (page creator in the case of an Automatic Workflow) Advance the StepTo advance the workflow to the next step, leave a an optional comment (optional) and then click "Approve"This will send a notification to the next user (or group) alerting them that an action is now required. Upon approval, all of the reviewers in the next step will be notified by email and via the in-Confluence notifications. (Didn't get the email notification? Check to see that you have configured your Confluence mail server). If need be, you may also "Return" a step and send it back to the previous user or group. This will alert them, along with your comment, about why the changes were rejected.reviewer. Your comment here can help explain why the step was not approved.
| HTML Wrap |
|---|
| 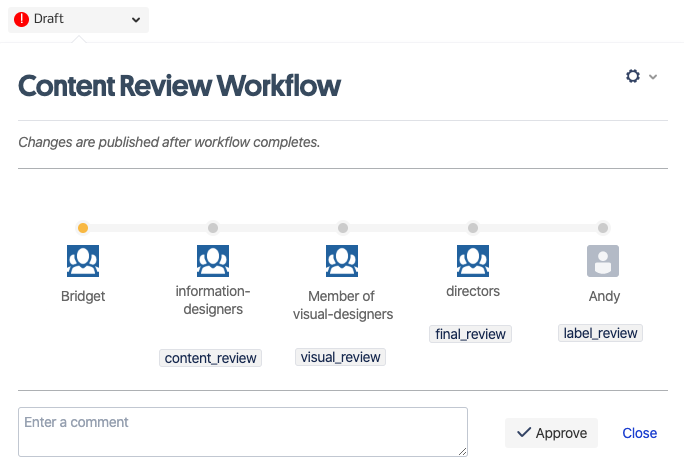 Image Added Image Added
|
Advancing a step applies the label for that step and removes (if present) the label of the previous step. The use of labels can be helpful for tracking all pages in a workflow.Note that at each step, any participant in the workflow may edit the page and then advance the workflow
The steps continue in this fashion until the last step is approved. Complete the WorkflowAt this pointWhen the last step is approved, the Page page is published and thereby the workflow is completed. If this was a Publishing Workflow, the changes made during the workflow are now visible to all with page view access to the spacepermissions. Once the workflow is complete, the status should read "Published" | 


